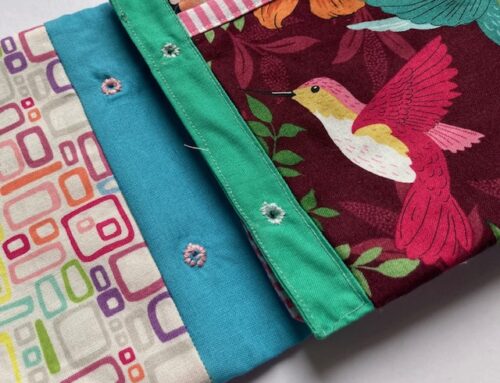
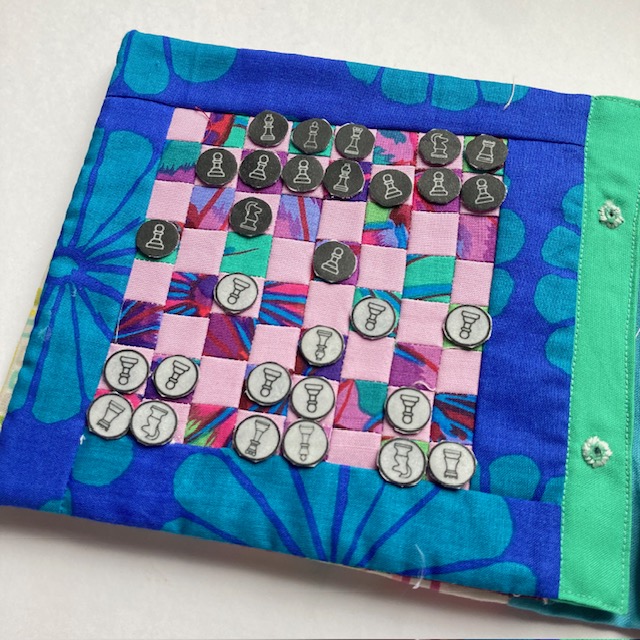
Sew your own Half Hexagon Mug Rug using the English Paper Piecing technique. Back in 2021 I started the year of the Half Hexagon on the Focus Cutting Sewalong and I failed to complete the year! I think I got to March and then life kind of happened and I crashed out.
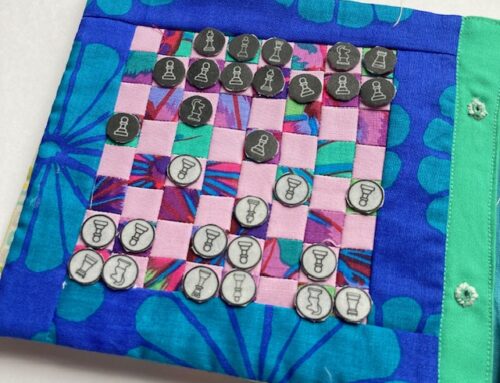
The size of the coaster is a nice big Mug Rug style and you can have a lot of fun with them.
How to Make a Half Hexagon Mug Rug
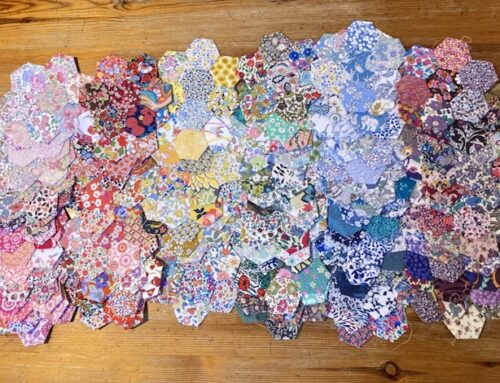
If you are new to paper piecing (English Paper Piecing) then this is great! It’s such a gorgeous sewing technique that can while away hours of mediative slow soul soothing sewing and I can assure you it is very addictive. The #FocusCuttingSewalong community is alive and welcoming on Instagram too so if you wanted bigger projects come and join in.
But first lets start with a tiny simple project in the form of a Half Hexagon Coaster. You will need:
- Half Hexagon Coaster Template sheet (download here)
- Fabric, 2 or 3 different co-ordinating pieces (Fat Quarters are plenty)
- Wadding/Batting approx 10″ square.
- Co-ordinating Bias Binding (Can make your own from the fabric)
- Sewing thread to match fabric
- Sewing supplies (needle/scissors)
- Glue

Firstly print the template out if possible on some heavier weight paper or thin card. Normal printer paper will do though it just means the templates will probably not make a second use. Cut out the Half Hexagon shapes.
Each size of template forms a round to make a hexagon shape around the centre hexagon. You have options to either make the centre hexagon a half inch or one inch one. The one inch option is good if you can’t handle the tiny sizes of the half inch half hexie.
Try laying out the papers first so you can see how they all fit together!
Cutting Fabric time.
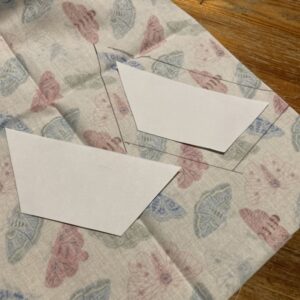
Place the templates on the fabric and measure approximately 3/8″ around the shape. There are a couple of ways to process this shown in the photos below.
If you quite like having a go at focus cutting (choosing an image on the fabric to show the same in each half hexie) then place the template where you need and draw around the shape. Repeat six times.
Alternatively you can save fabric by stacking all six templates to match and cut out without making Swiss cheese of your fabric!
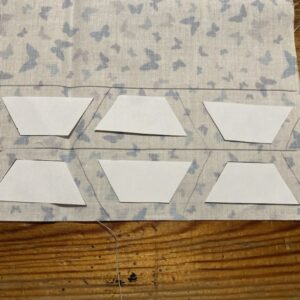
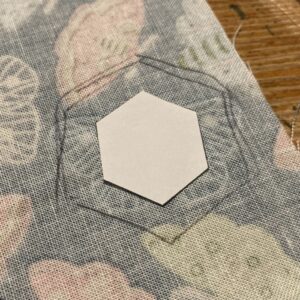
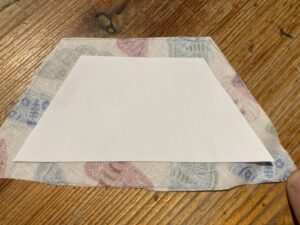
For each round of half hexagons choose a different fabric. Do this for each template including your centre hexagon shape. Cut out all the shapes.
Now it’s time to baste the fabric shapes which will form the Half Hexagon Coaster. There are two options, thread basting or glue basting. I’ll show you glue for this tutorial but I find thread basting more rewarding on long term projects.
How to Glue Baste a Half Hexagon
Depending on the size of the project I use different glue pens, smaller shapes I use a sew line glue pen but for larger shapes a simple glue stick from the kids craft box works fine!
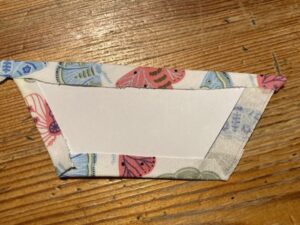
Select your fabric shape and paper piece to match. Position it with the small edge away from you with the paper piece in the centre.
Use your glue to glue a small line along the edge of the paper. I try and use as little as possible as this helps with the removal of papers later. The fold over the short edge of fabric to stick to the glue.
-
- Position paper piece
-
- Glue the short edge
-
- Fold over and stick fabric
Next we glue a side and depending on what feels right you’ll either choose to go clockwise or anti-clockwise. It really doesn’t matter as long as you go the same way on all the pieces. It helps with left over tails and sewing pieces together later.
Again, stick a glue line along the edge and fold over the fabric to stick in place.
-

- Glue edge
-
- Fold over
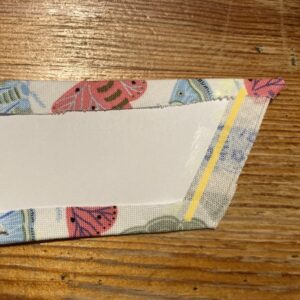
Spin the shape around so you can glue the long edge and fold over the fabric
-
- Glue long edge
-
- Fold log edge
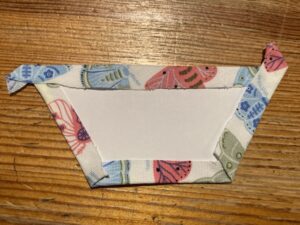
The last step of glue basting is the final short edge. This is where the tail from the fabric points up. Glue the edge again and fold the fabric over.
-
- Glue last edge
-
- Fold last edge
-

- Finished piece
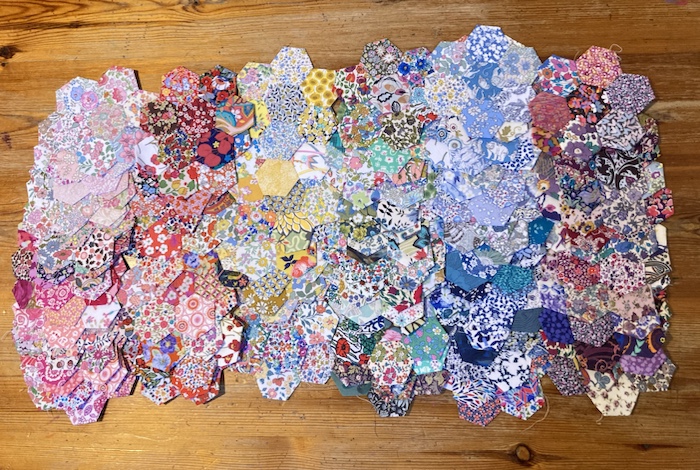
As you can see one of the tails is pointing left (or right if you go anti-clockwise) and pointing up. To aid joining. Repeat for all shapes until you are complete… you can lay them out for a glory photo:

Joining the Half Hexagon pieces
To join the half hexagon pieces together I use a stitch called the WIP stitch. Place two pieces right sides together so that the edge you want to stitch is lined up. You can use a clip to hold the two pieces together if it makes it easier. The whip stitch works by catching the edge of the fabric next to the paper with your needle and thread. Tie a knot into the corner then work the needle and thread along the piece you want to sew.

The smaller the stitches together the less you can see them as you stitch. When sewing round the tails of left over fabric you can just move them out of the way and position back when you are done:

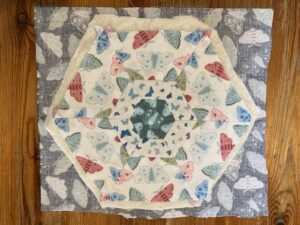
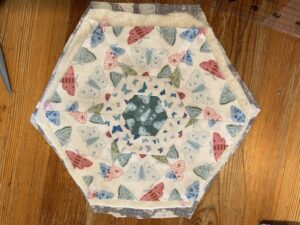
Once you have sew all six of each round together you can then work round each row adding them to the inner hexagon.

Once everything is sewn together like this. Lightly press the hexagon with an iron and then work to take the papers out of the shapes. The inner small ones can be tricky and I sometimes just leave them in.

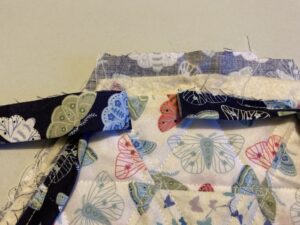
Quilting the half hexagon mug rug
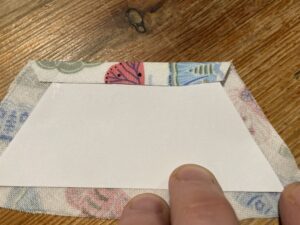
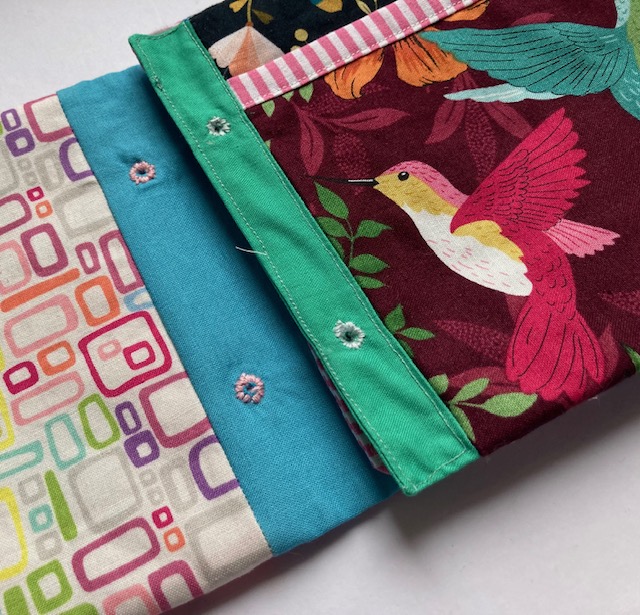
The next job is to quilt your hexagon. Using an approximate 10″ square of wadding place this under the hexie and trim. Do the same with your backing fabric.
I like to leave edges showing so it allows for some wiggle room when quilting.
Quilting is a truly personal thing. I know hand quilting is a really therapeutic past time but sometimes quilting by machine is just needed to get a job done.
For this project I have machine quilted lines that pass through the hexagon centre creating a star effect in the middle. There are no rules to quilting so do what you feel to attach the three layers together.

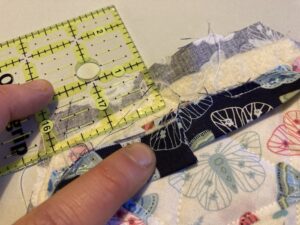
Optional here whether you want to trim the edged down or not. I’ve done both ways and it slightly alters the size of the coaster.
Attaching the binding on your half Hexagon coaster
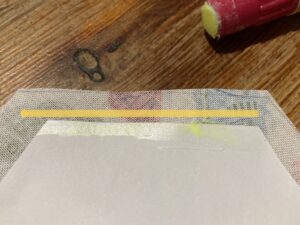
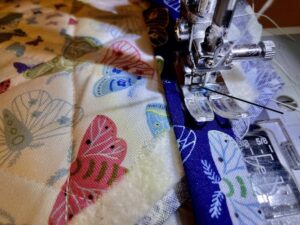
Make the binding by cutting a 1.5” x 25” strip. Fold and press the binding wrong sides together along the strip.

At approximately 1” we will place the raw edge against the edge of the hexagon leaving a 3” tail of the binding loose.
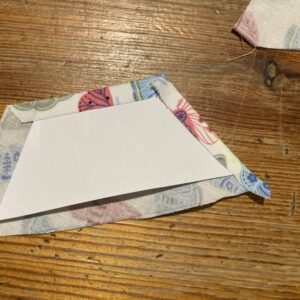
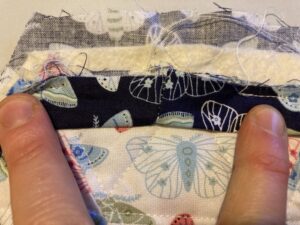
We are going sew the binding edge at 1/4” all the way round the hexagon. Corners to follow.

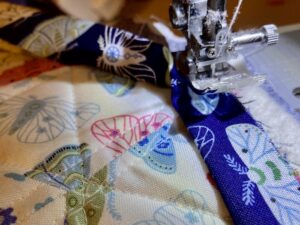
At the corners stop 1/4” before the corner. Keep the needle in, lift foot and spin the hexagon to sew off on the line below.
Remove, fold up the sewn binding and bring the next side of the binding, raw edge and sew to the next corner. As you sewed off at 1/4” you’ll be able to place the edge neatly.
Sew round all the way until you get to the final edge. Leave a 2” or 3” gap. Fold down the right hand bit of binding and snip so it’s in the middle.
Fold the left part of the binding down over the top of the right and measure 1/4” and snip.
Open both ends of the binding up so you can place right sides together. Given the small nature of the quilt you will have to bend it to clip the binding ends together. Sew 1/4” so they are joined.
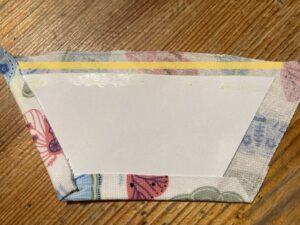
Fold binding back right sides together and stitch it down onto your hexagon. The first stage of the binding is complete.

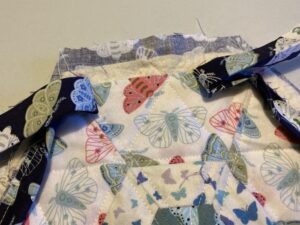
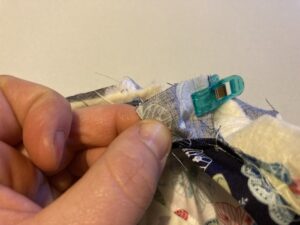
The next step is to hand sew the binding to finish. Fold the binding edge over to the back and clip or pin in place.
Using a fine needle and appropriate thread colour use tiny stitches to sew the binding down around the back.

Once you have sewn all around the outside your half hexagon coaster is complete!

I do hope that you enjoyed my free tutorial on making a half hexagon Coaster. I’d love it if you share with me what you have made on your social media with me tag me in on Instagram and Facebook @twotinymakes.
Invite your friends along too.
Thank you
Leave A Comment